TABLE OF CONTENTS
On our journey of making a CI/CD pipeline on AWS with these tools, we have completed AWS CodeCommit.
Next few days we'll learn these tools/services:
CodeBuild
CodeDeploy
CodePipeline
S3
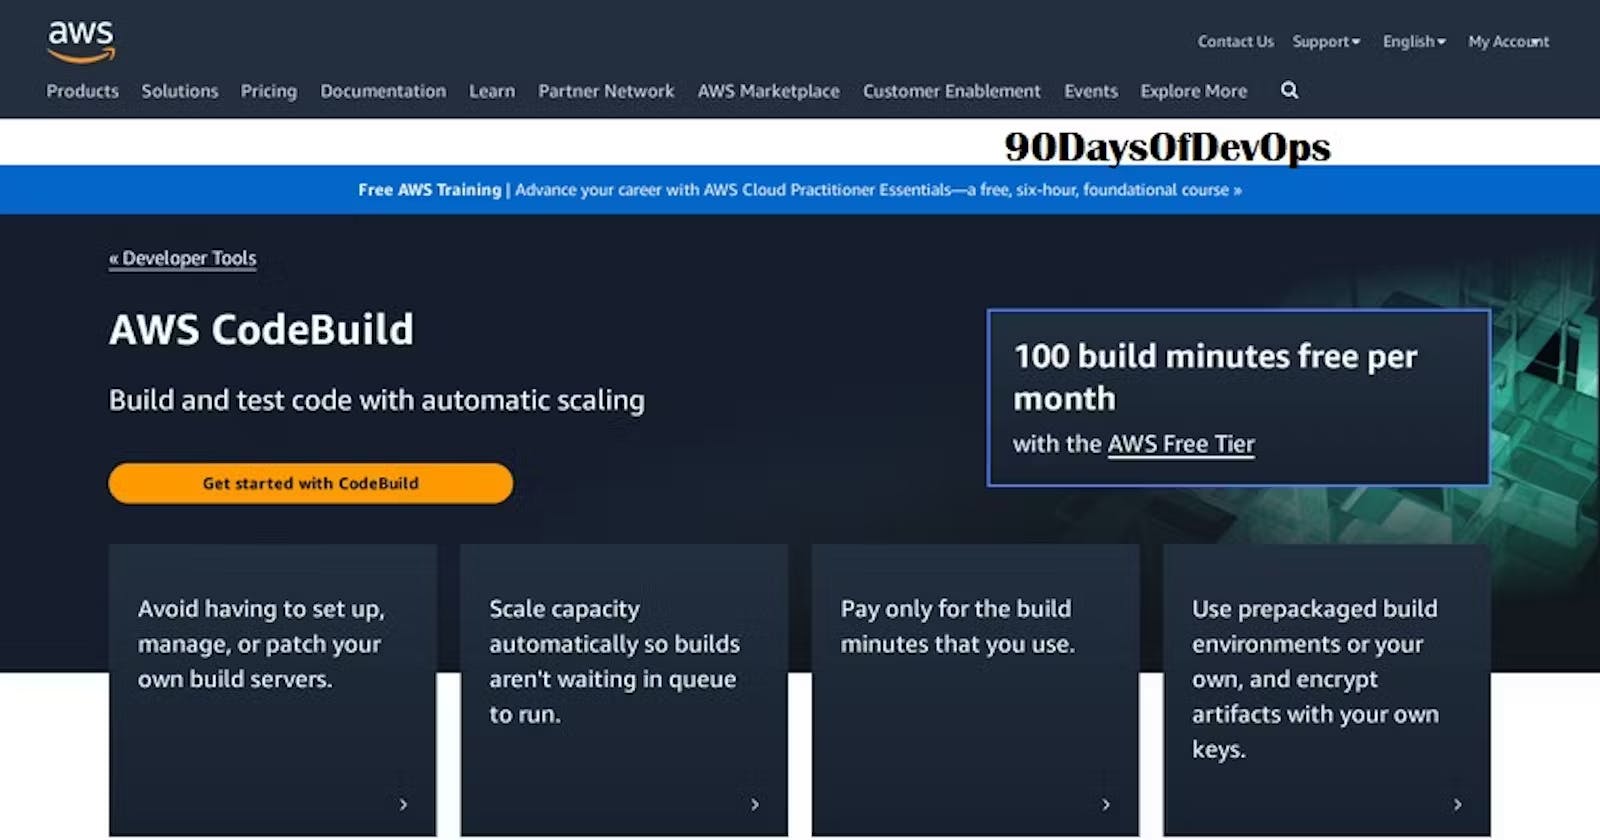
What is CodeBuild?
- AWS CodeBuild is a fully managed build service in the cloud. CodeBuild compiles your source code, runs unit tests, and produces artifacts that are ready to deploy. CodeBuild eliminates the need to provision, manage, and scale your own build servers.
Task-01: Creating CodeBuild
Read about Buildspec file for Codebuild.
create a simple index.html file in CodeCommit Repository
you have to build the index.html using nginx server
As we saw yesterday, create a repository in AWS CodeCommit and write an index.html file and commit it.


Clone the repository to your instance and verify the files.

Task-02: Configuring a Webpage with Codebuild.
Add buildspec.yaml file to CodeCommit Repository and complete the build process.
Create a buildspec.yaml file that will contain the pre-build,during build,post-build, storage artifacts to be performed on the server during the project build.

Move the file to staging area and commit the file.

Push the committed file to the remote repository of the CodeCommit repository.

Verify the file in remote repository along with the content.


Now, navigate to the CodeBuild section of AWS and build project.

Provide the appropriate details.

Provide the repository details from which the project will pull the code.

Provide the environment details on which operating system the code needed to be run with the latest image.

Modify the Role name, and avoid spaces between letters.

Now build the project.

Verify the project build details and now start the code build.

Code build is completed and now verify the build phases.


All build phases are successfully completed.

You can store the build details in the artifactory with the successful build so that you can retrieve the same at any point in time.

Before that, create an S3 bucket. Navigate to the S3 bucket in the AWS console and provide the bucket name and create the bucket.


Bucket is now created.

Navigate to the project build, click on edit and select artefact. Provide all the details and create artifact.

Now, retry the build and you can see the UPLOAD_ARTIFACT section as succeeded.

Navigate to the S3 bucket and you can see the build.

Verify the build file and click open URL to open the webapp.

You can now see the web app.

Thanks for reading my article. Have a nice day.
WRITTEN BY Biswaraj Sahoo --AWS Community Builder | DevOps Engineer | Docker | Linux | Jenkins | AWS | Git | Terraform | Docker | kubernetes
Empowering communities via open source and education. Connect with me over linktree: linktr.ee/biswaraj333

